There is a narrow window every year when a timber fence is genuinely worth treating, and in most of Britain it lands right about now. The ground has dried out, the wood has had a few weeks of sun to lose its winter moisture, and we are still a fortnight or so before the proper heat arrives and the panels start to bleach grey. Miss it and you are either painting onto damp timber in April or chasing a sun-baked, cracked surface in late July. June is the month the job actually pays off.
I treat my own boundary fence every other summer, and the single biggest lesson I have learned is that the preparation matters more than the product. A £35 tin of decent oil over a mossy, flaking panel is money straight in the bin. Spend the first half of a Saturday getting the surface right and the second half doing the easy part.
Read the timber before you buy anything
Walk the run of fence and actually look at it. Pressure-treated softwood panels from the likes of Forest Garden or a Wickes own-brand will usually be a pale honey colour when sound, turning silver-grey as the surface weathers. Grey on its own is cosmetic — it is just UV bleaching the top fibres. What you are hunting for is the stuff that means trouble: black spotting where a panel sits permanently shaded, soft patches near the bottom rail where damp wicks up, and any post that wobbles when you shoulder it.
Push a screwdriver into the base of each post. If it sinks in like cork, that post is rotting from the ground up and no amount of treatment on the panels will save it — you are looking at a concrete-in repair or a metal post spur, which is a different weekend entirely. Sound timber resists the blade. That five-minute test tells you whether this is a maintenance job or a replacement job before you have spent a penny.
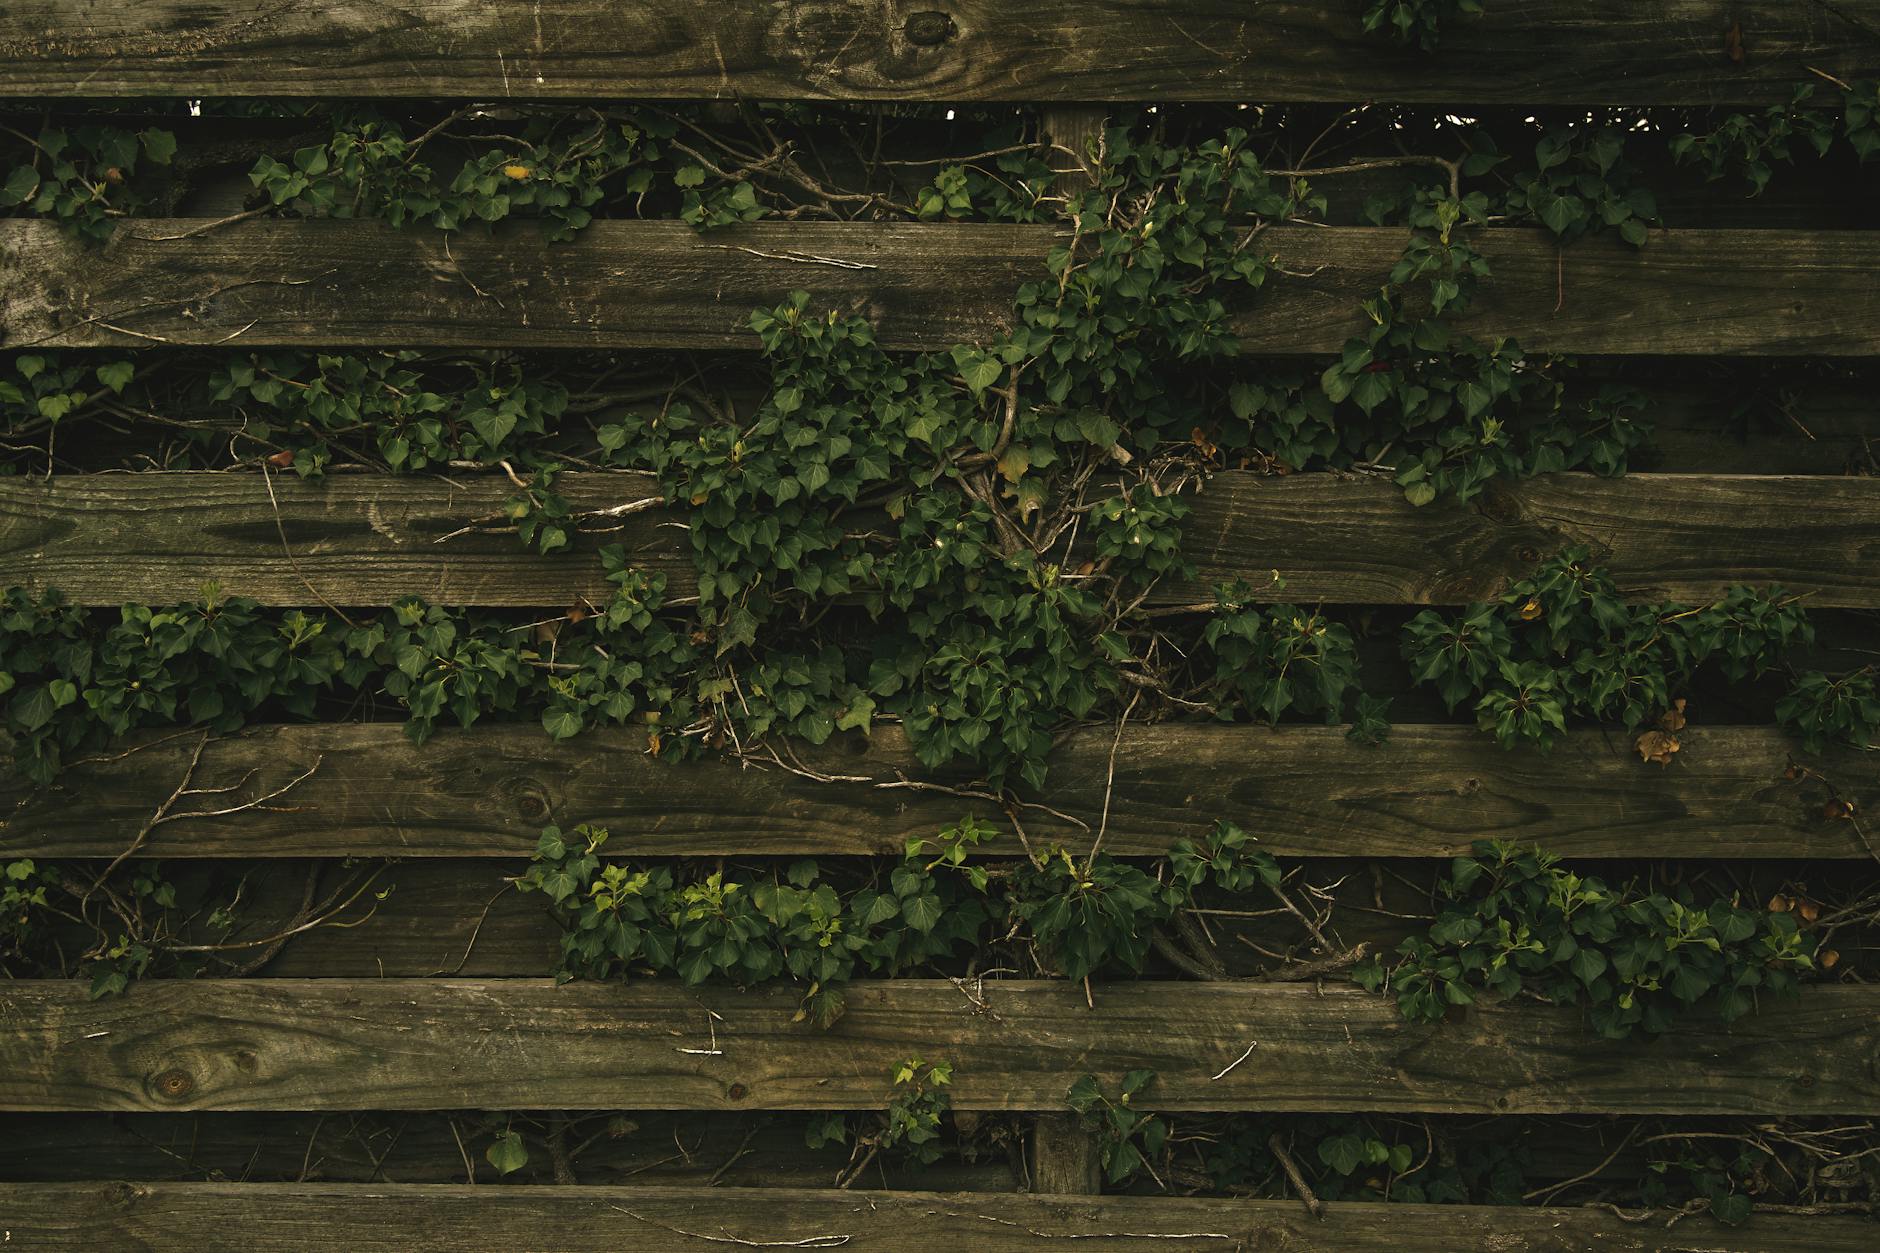
Cleaning: skip the pressure washer (mostly)
Everyone reaches for the pressure washer and most people overdo it. On a feather-edge or close-board fence the high-pressure jet tears up the soft summer growth rings, leaves the surface furry, and drives water deep into the grain — exactly what you do not want before sealing. If you must use one, keep it on a fan nozzle, a good 30cm back, and work along the grain, never against it.
For the average lap panel I would rather use a stiff brush, a bucket of warm water and a fence cleaner with a fungicide in it — something like a Cuprinol or Ronseal cleaner runs about £8–£12 and shifts green algae far better than water alone. Scrub, leave it the dwell time on the tin, rinse with a watering can. Then comes the part nobody enjoys: walk away and let it dry. Two dry days, three if the fence faces north. Treating damp timber is the commonest reason a finish lifts within a year.
Choosing a treatment: oil, stain or paint
This is where the money decision sits, so here is my honest steer. For a bare or weathered softwood fence, a penetrating fence oil or a spirit-based shed-and-fence treatment is the better buy than a thick coloured paint. Oils soak in, flex with the timber as it swells and shrinks across the seasons, and when they fade you simply re-coat — no flaking, no scraping. A 5-litre tin of Cuprinol Ducksback or similar covers roughly 12–15 square metres per coat and sits around £25–£35.
The thick acrylic fence paints look fantastic for the first summer and I understand the appeal of that deep slate or sage colour. The catch: they sit on the surface as a film, and the moment water gets behind that film — through an end grain you missed, or a crack — it peels, and then you are scraping a whole panel back to bare wood. If you genuinely want a solid opaque colour, fine, but go in knowing it is a repaint commitment every two to three years, not a soak-and-forget.
- Weathered, grey-but-sound softwood: penetrating oil. Cheapest over the long run and the most forgiving.
- Smooth planed timber or a contemporary slatted screen: a translucent decking-grade stain shows the grain and lasts well.
- You want a bold block colour and accept the upkeep: an opaque garden paint — just prime any bare patches first.
- Hardwood (oak, iroko) screens: a clear UV-protective oil only, never a film-forming paint.
Applying it without the patchy finish
Brush beats spray for penetration every time, even though spraying is quicker. A 100mm brush worked along the grain pushes the treatment into the fibres and, crucially, lets you flood the end grain and the bottom rail — the two places rot actually starts. If you are coating a long run, a sprayer to lay it on followed by a quick back-brush gives you speed without the thin, missed patches. Do both sides if you can reach; the garden-facing side gets all the attention and the neighbour-facing side quietly rots.
One coat is rarely enough on bare wood. Lay the first coat, let it touch-dry, and put a second on the same day if the tin allows — the first coat seals the thirstiest fibres and the second is what actually gives you the colour and the protection. And do check the forecast properly: most of these treatments want four to six hours rain-free, and a June afternoon shower an hour after you finish will run streaks down every panel.
The bits people forget
Gravel boards and the very bottom 150mm of each panel do most of the dying, because that is where splash-back and soil contact keep the timber damp. Give that band an extra dose. Lift any trailing plants away from the fence while you work, not because the treatment will harm them badly once dry, but because a clematis welded to a wet panel makes both the coating and the climber miserable. And the post caps — those little timber finials shed water off the end grain of the post, which is the single most vulnerable spot on the whole fence. A split or missing cap at £3 from any builders' merchant will save you a £40 post.
Do this properly once and the fence will look honest for two summers and structurally sound for far longer. Pressure-wash it to death and slap paint on damp wood, and you will be back out there with a scraper before next June.